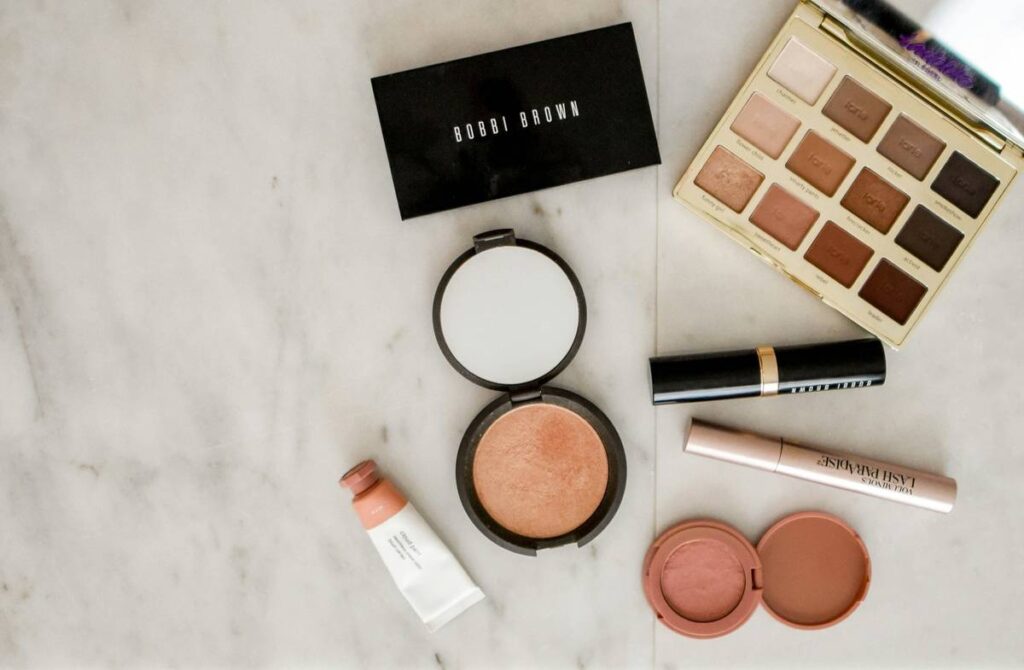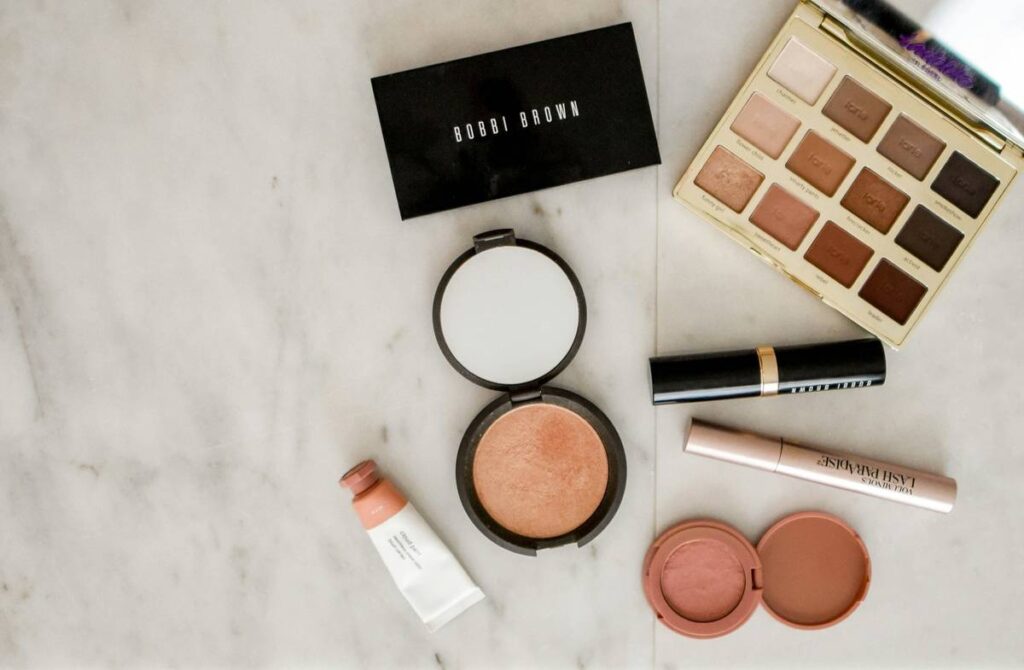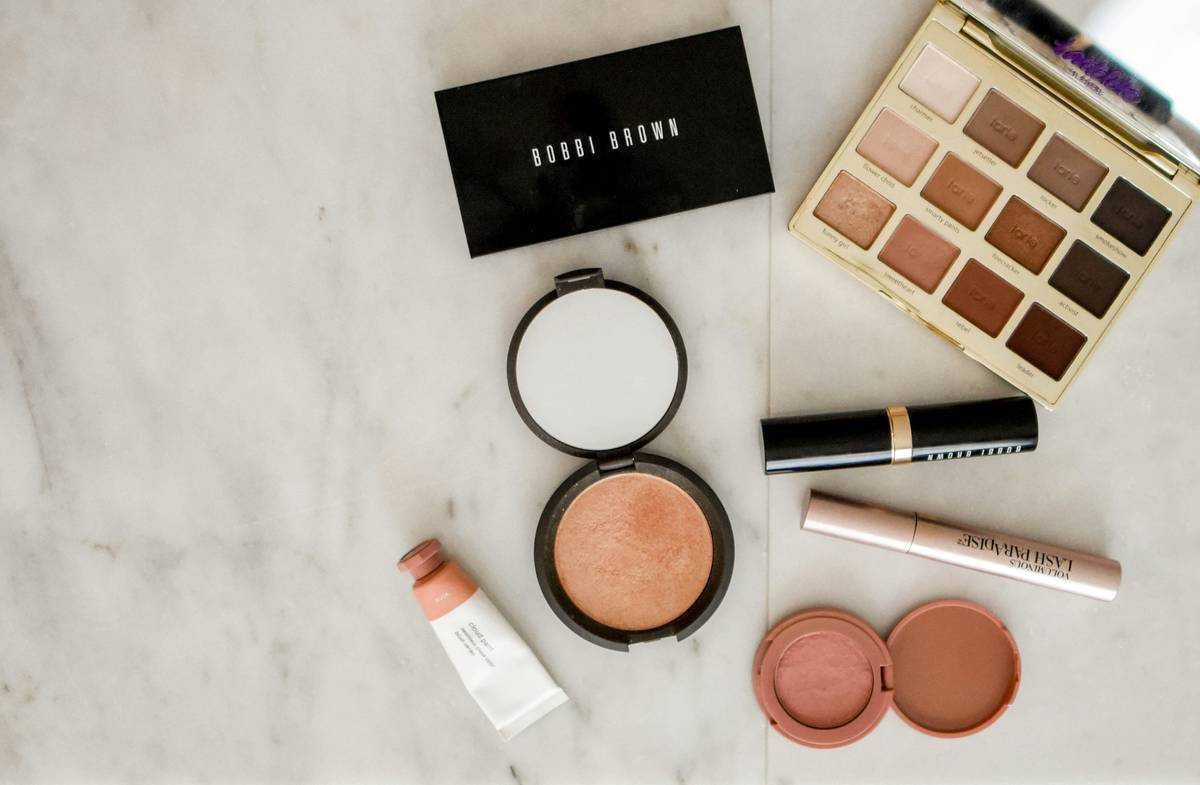
Most makeup artists—pros included—apply highlighter like they’re frosting a cake: thick, centered, and completely ignoring bone structure. The result? A shiny forehead or greasy cheekbones that vanish under studio lights. It looks messy, not luminous. And you’ve probably fallen into the same trap. But there’s a better way. A subtle, structural highlight trick used backstage at fashion shows that sculpts dimension without looking “done.”
Why Your Current Highlighting Method Isn’t Working
You’re layering product where light naturally hits—but that’s not how light behaves on three-dimensional faces. Bone structure absorbs, reflects, and diffuses light unevenly. Slathering highlighter down the center of your nose or across your Cupid’s bow? That’s flat-plane thinking. Real radiance comes from strategic interruption—not coverage.
And most tutorials skip this nuance. They tell you “highlight the high points”—but never explain which ones actually catch ambient light during movement. Static photos lie. Faces turn. Light shifts. Your highlight should too.
The Step-by-Step Highlight Trick for Dimensional Glow
Map Your True Light Catchers
Forget the “T-zone” myth. Stand near a window. Turn your head slowly left to right. See where light flickers—not glows steadily? Those are your real highlight zones: the outer orbital ridge, just below the brow tail; the top edge of the zygomatic arch (not the apple); and the very tip of your chin—not the whole thing.
Choose the Right Texture (Not Just Shade)
Dry skin? Cream or liquid with micropearls—not glitter. Oily skin? Pressed powder with satin, not frosty, finish. The wrong texture amplifies pores or disappears by hour two. Pro tip: mix a drop of facial oil into powder highlighter for “your-skin-but-better” sheen that lasts.
Application Precision Beats Quantity
Use a tapered synthetic brush—not your finger. Dab, don’t swipe. Build in translucent layers. One pass. Wait 10 seconds. Assess. Repeat only if needed. Over-application kills dimension—it flattens. Less is literally more when chasing realism.
| Highlight Placement Zone | Why It Works | Common Mistake | Tool Recommendation |
|---|---|---|---|
| Outer Brow Arch (not directly under) | Catches overhead light subtly; lifts eyes without looking sticky | Highlighting inner brow—creates shadow contrast that ages | Small tapered fan brush |
| Zygomatic Arch Ridge (bone edge, not apple) | Emphasizes natural contour; moves with smile | Highlighting cheek apple—draws attention to sagging over time | Dense stippling sponge |
| Nasal Bridge Tip Only (last 1/4 inch) | Mimics natural nose reflection; avoids “striped” look | Highlighting full bridge—enhances width | Angled liner brush |
| Chin Apex (center point only) | Balances jawline; adds youthfulness | Highlighting entire chin—elongates face unnaturally | Fingertip (for cream formulas only) |
The Industry Secret: The 3-Light Rule
Backstage at Milan Fashion Week, I watched a lead MUA reject every model’s initial highlight pass. Her fix? The “3-Light Rule.” She’d walk the model under three light sources: warm tungsten, cool LED, and natural daylight. If the highlight looked consistent—never stark, never invisible—under all three, it stayed. If it vanished under LEDs or flared under tungsten? Wiped off.
Here’s the reality: your highlight must perform in real life, not just Instagram ring lights. Most formulas fail this test. Switch to hybrid formulas—those labeled “adaptive luminosity” or “multi-refractive.” They contain layered mica particles that respond differently to varied light temps. It’s physics, not magic.
FAQ
Where exactly should I apply the highlight trick?
Focus on dynamic zones: outer brow bone, zygomatic arch edge, nasal tip, and chin apex—not flat surfaces like cheeks or forehead center.
Can I use the highlight trick on oily skin?
Yes—but avoid liquid formulas. Use a finely milled satin powder applied with a dry sponge in sheer layers to prevent midday slip.
Does the highlight trick work for mature skin?
Absolutely. Avoid glitter. Use cream-based, pearl-infused highlighters only on upper planes (brow, chin) to lift—not lower cheek areas that emphasize folds.