You’ve practiced flicks for hours. You’ve bought every liquid liner on the shelf. Yet your lines still wobble, smudge, or vanish by noon. Why? Because most tutorials skip the foundational truth: liner precision isn’t about product—it’s about control, angle, and tension. And without those, even the priciest pen fails.
Why Your Liner Keeps Failing (Hint: It’s Not Your Hand)
Most artists blame shaky hands. Wrong. The real issue? Poor skin anchoring and incorrect tool alignment. When you drag a brush across loose eyelid skin—especially hooded or mature lids—it buckles. That micro-movement creates skips, blobs, or uneven thickness. Even with steady nerves, physics works against you.
And most “pro” tips ignore this. They show flawless models under perfect lighting with pre-taped eyes. Real-world conditions? Humidity, oil, blinking—they demand more than a sharp pencil.
Mastering Liner Precision: A Tactical Breakdown
Forget “practice makes perfect.” Precision is engineered. Here’s how:
Step 1: Stabilize the Canvas
Never draw on mobile skin. Use your ring finger to gently pull the outer corner taut—just enough to flatten the lid without stretching. Keep your pinky anchored on the cheekbone. This creates a stable platform. No movement = cleaner lines.
Step 2: Match Tool to Task
A gel pot with an angled brush gives maximum control for thick wings. Liquid pens excel for razor-thin tightlines. But here’s the twist: rotate your wrist, not your whole arm. Micro-adjustments come from the hand—not shoulder swings.
Step 3: Build in Segments, Not One Stroke
Draw three short dashes: inner third, middle, outer wing. Connect them after. This reduces pressure errors. Trying to do it in one go? That’s how you get a shaky tail or uneven width.
| Tool Type | Best For | Precision Score (1-10) | Beginner-Friendly? |
|---|---|---|---|
| Gel + Angled Brush | Bold wings, graphic liner | 9 | No — requires brush control |
| Felt-Tip Liquid Pen | Thin lines, tightlining | 7 | Yes — but dries fast |
| Pencil (Wax-Based) | Smudged looks, waterlines | 5 | Very — but low longevity |
| Microliner Stamp + Pen Combo | Symmetry on hooded lids | 8 | Moderate — needs alignment skill |
Step 4: Set Immediately
Dust translucent powder over your liner within 30 seconds if using gel or pencil. For liquid, use a water-resistant topcoat. Skipping this? You’re inviting transfer—and that kills precision faster than sweat.
The Industry Secret: Tension Mapping
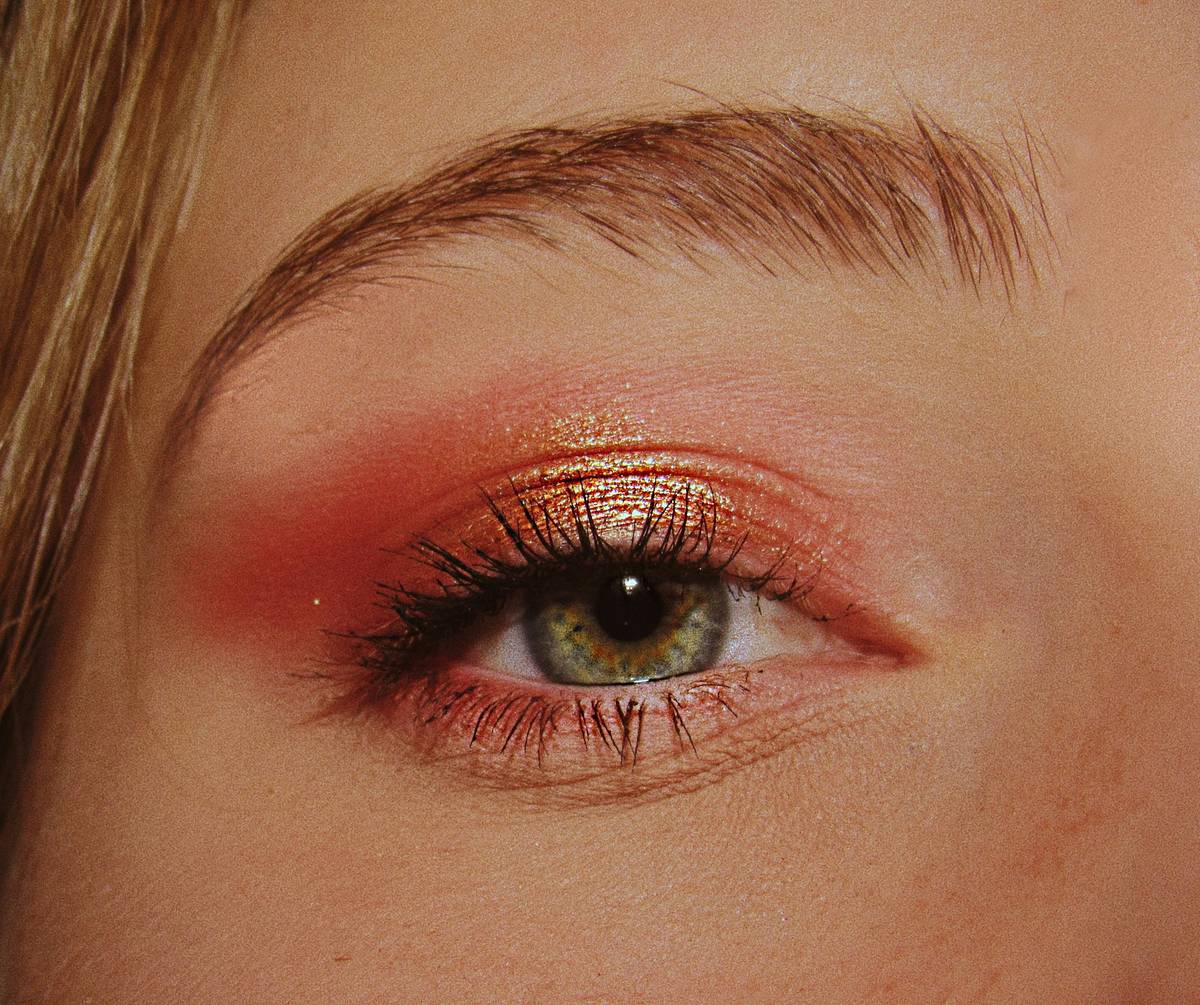
Top editorial artists don’t just pull skin—they map tension zones. On a monolid, they anchor at the lash line and lift slightly upward. On deep-set eyes? They pull laterally, not up. Each eye shape demands a unique vector of tension. Get this wrong, and your liner distorts when the model blinks.
Here’s the reality: no two clients have identical biomechanics. Your job isn’t to mimic Instagram reels—it’s to read the skin like a topographic map. Adjust pressure, angle, and anchor point per millimeter of curvature. That’s what separates artisans from assemblers.
FAQ: Liner Precision Questions Answered
How do I fix a wobbly eyeliner line?
Stop mid-stroke. Let it dry, then use a cotton swab dipped in micellar water to carve clean edges. Never “fix” while wet—it smears.
Can hooded eyes achieve liner precision?
Absolutely—but keep the line thin and extend only slightly beyond the crease. Thick wings disappear when eyes open, ruining symmetry.
Does eyeliner type really affect precision?
Yes. Gel offers blend control; liquid gives sharpness. But your technique matters more than the brand. Master both tools.