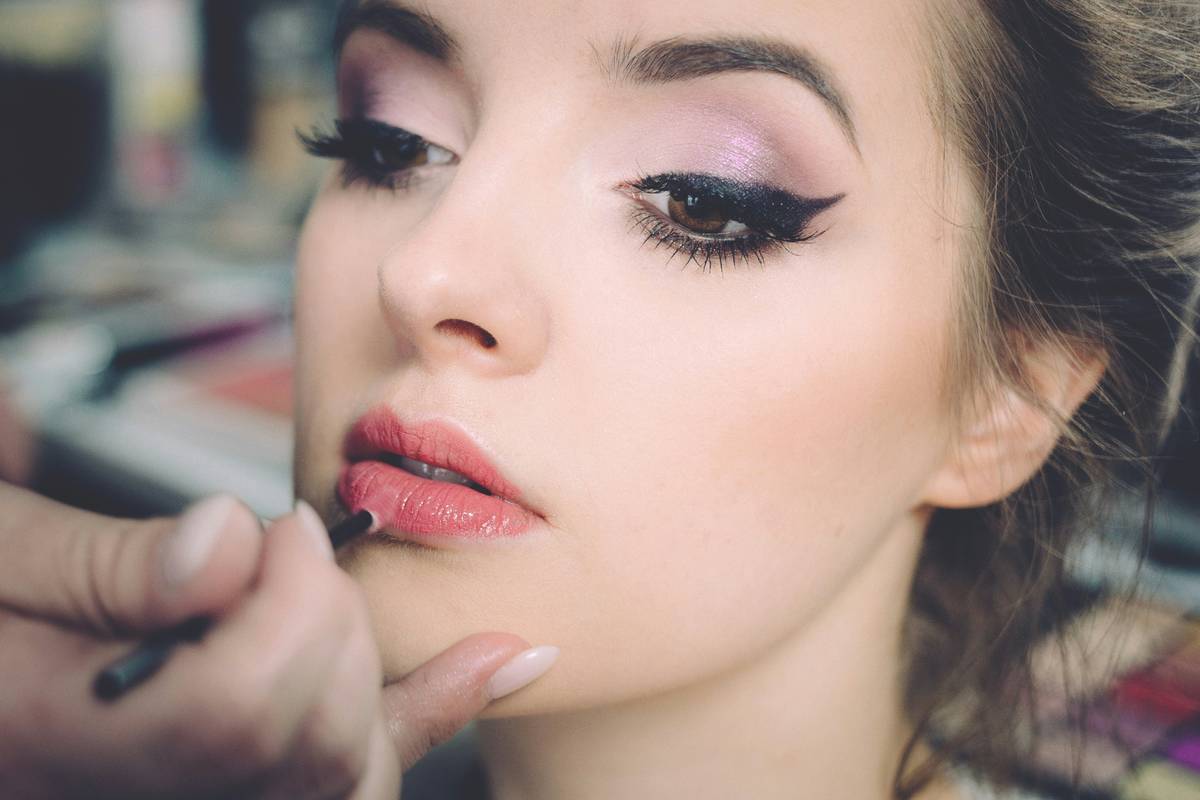
Flat, over-plucked, or asymmetrical brows aren’t just a cosmetic issue—they erode confidence before you even speak. Most so-called “experts” push cookie-cutter stencils and one-shade-fits-all powders that kill dimension. Real brow sculpting isn’t about filling in—it’s about architecture. And it starts with understanding bone structure, not pigment.
Why Your Brow Sculpting Keeps Falling Flat
You’ve watched the tutorials. Bought the triple-ended pens. Still, your arches look drawn-on, stiff, or worse—like twin caterpillars mid-migration. The problem? You’re treating brows as a 2D canvas. Brows live on a 3D face. Ignore the orbital rim, zygomatic arch, or forehead slope—and no amount of product saves you.
And most kits don’t account for hair growth patterns. Ever notice how the tail often grows downward while the front fans upward? Force pigment against that grain, and you get muddy, unnatural strokes.
Brow Sculpting That Actually Works: A Pro’s Blueprint
Map Before You Mark
Ditch the ruler. Use a straight edge (even a clean mascara wand) to find three key points: start (aligned with nostril), arch (nostril to iris), end (nostril to outer eye). But here’s the twist—adjust these based on your actual bone structure, not textbook theory. High cheekbones? Pull the arch slightly outward. Deep-set eyes? Lower the peak to avoid shadow exaggeration.
Texture Trumps Color
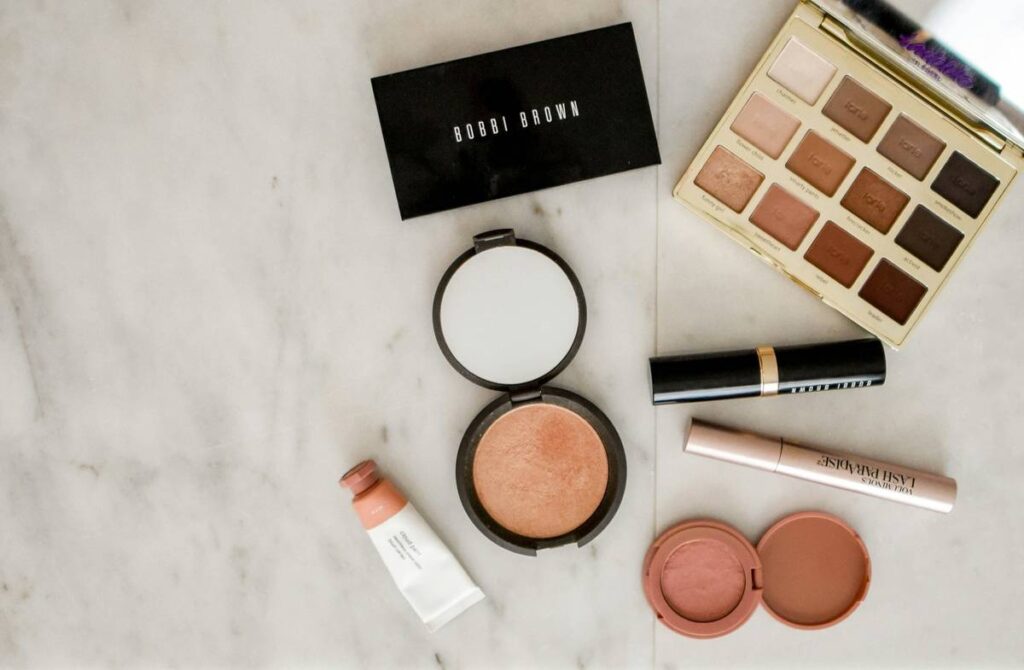
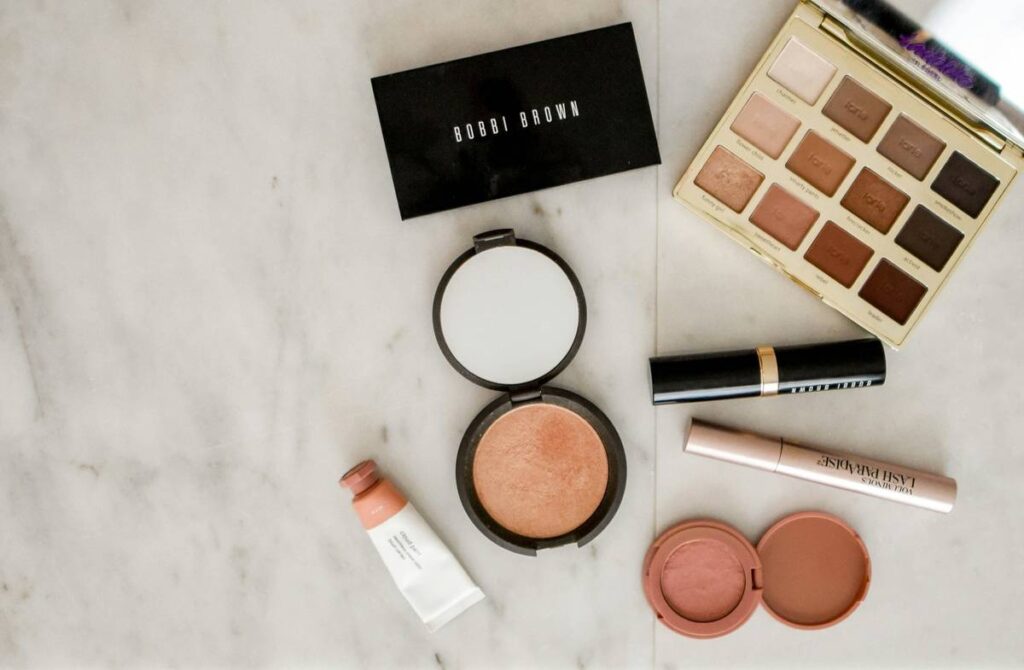
Forget matching your hair dye. Match your brow root. Natural brows aren’t one flat shade—they shift from cool taupe at the base to warmer brown at the tips. Layer ash-based pencil underneath, then feather warm-toned powder on top. Blend upward with a spoolie—not sideways.
Carve Shadow, Not Just Shape
The magic isn’t in the hair-like strokes—it’s in the negative space. Use a matte taupe eyeshadow two shades lighter than your skin to diffuse beneath the tail. This mimics how light naturally hits the orbital bone. Suddenly, your brow doesn’t sit on your face—it emerges from it.
| Technique | Longevity | Dimension Level | Beginner-Friendly? |
|---|---|---|---|
| Powder Fill Only | 4-6 hours | Low (flat appearance) | Yes |
| Pencil Strokes + Powder | 8-10 hours | Medium (mimics hair but lacks depth) | Moderate |
| Bone Mapping + Shadow Carving + Dual-Tone Layering | 12+ hours (with setting spray) | High (3D, lifelike) | No—but worth learning |
The Industry Secret: Brows Are Eyebrows—They’re Facial Anchors
Top makeup artists rarely touch the inner third of the brow. Why? Because real fullness comes from strategic omission. Over-defining the head creates a harsh, helmet-like effect. Instead, they use concealer to sculpt around the brow—sharpening the lower edge while leaving the upper inner hairs soft and blurred. This trick, borrowed from editorial lighting, makes brows appear both defined and effortlessly grown-in. Also—never use black unless your natural brows are true jet black. Even then, mix in 20% grey. Pure black reads as ink, not hair.
Frequently Asked Questions
How is brow sculpting different from microblading?
Brow sculpting is daily wearable makeup that enhances existing hairs using dimension and light play. Microblading is semi-permanent tattooing that implants pigment regardless of natural growth—risking unnatural shapes when hair patterns shift.
Can I sculpt brows if I have sparse hair?
Absolutely. Focus on creating soft, feathery strokes only where hairs actually grow—not filling empty skin. Pair with bone contouring underneath to create optical fullness without looking drawn-on.
What brush is essential for true brow sculpting?
A dual-ended tool: angled brush for precise strokes, and a clean, stiff spoolie for upward blending. Synthetic bristles hold product better for hair-like definition.