Glitter should dazzle—not migrate to your pillowcase by noon. Yet most “glitter cosmetic idea” attempts end in sparkly disaster: flaking, clumping, or worse—eye irritation. You’ve tried glitter glue, mixing with moisturizer, even DIY hacks from TikTok. None deliver that high-fashion finish without the mess. Here’s a pro-tested method that locks shimmer in place for 12+ hours—and why 90% of artists get it wrong.
Why Your Glitter Keeps Failing (It’s Not Just Cheap Product)
Most tutorials treat glitter like an afterthought. Slap on adhesive, sprinkle sparkles, call it art. But fine cosmetic-grade glitter behaves like tiny shards of glass—it needs precise adhesion and sealing mechanics. And if you’re using craft glitter? Stop. Seriously. Craft glitter isn’t milled for skin safety—it has jagged edges that scratch delicate eye tissue.
The real issue? Layering sequence. Apply glitter before setting spray? It peels off with every blink. Mix it into foundation? You dilute its reflective power into muddy shimmer. The math is simple: wrong base + wrong sealant = wasted product and irritated skin.
Step-by-Step Glitter Cosmetic Idea Execution Guide
Selecting the Right Glitter Type
Cosmetic-grade glitter comes in polyester, biodegradable PLA, and mica-infused variants. For eyes, stick to particles under 0.008 inches—large enough to catch light, small enough to avoid abrasion. Avoid anything labeled “craft” or “industrial.”
Prepping the Canvas
Cleanse and prime like your look depends on it—because it does. Use a silicone-based primer (like MAC Prep + Prime 24-Hour Extend Eye Base). It creates a grippy, non-porous surface. Skip moisturizers—they introduce oils that repel adhesives.
Adhesion Without Aggravation
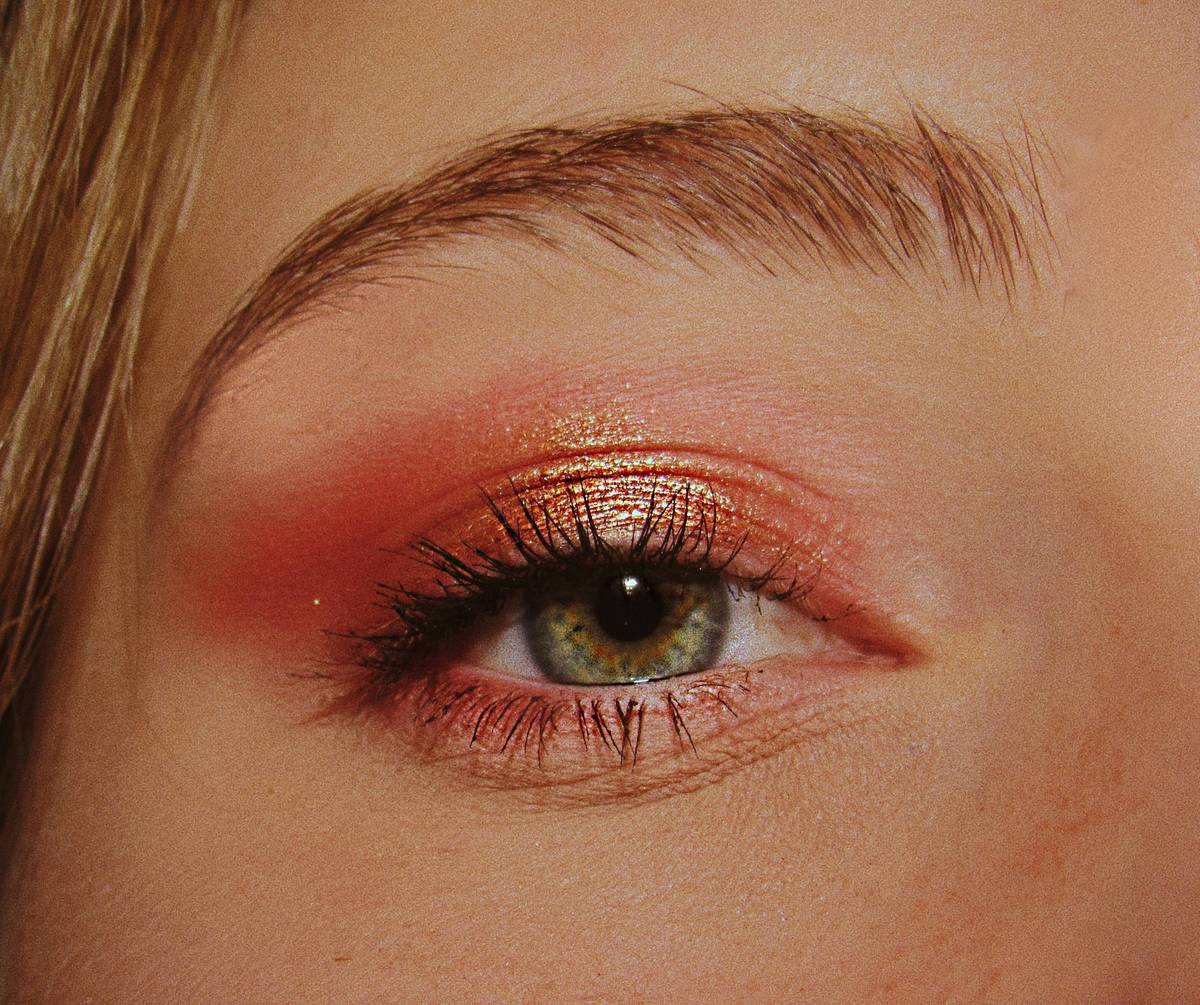
Ditch water-based glues. They dry brittle. Instead, use a translucent gel adhesive—think NYX Glitter Primer or even clear lash glue thinned with saline solution. Apply with a flat synthetic brush in thin layers. Let it get tacky (30 seconds)—not wet, not dry.
Application & Lock-In Technique
Press glitter on with a silicone applicator or flat dome brush—never blow or shake. Pat, don’t swipe. Once set, seal immediately with an occlusive top coat: Ben Nye Final Seal or Make Up For Ever Mist & Fix work. One mist from six inches away. Done.
| Method | Hold Time | Fallout Risk | Skin Safety |
|---|---|---|---|
| Water-Based Glue + Craft Glitter | <2 hours | High | Poor (micro-tears) |
| Gel Adhesive + Cosmetic Glitter | 8–12 hours | Low | Excellent |
| Mixed Into Foundation | 4–6 hours | Moderate | Fair (diluted adhesion) |
| Pressed With Occlusive Sealant | 12+ hours | Negligible | Optimal |
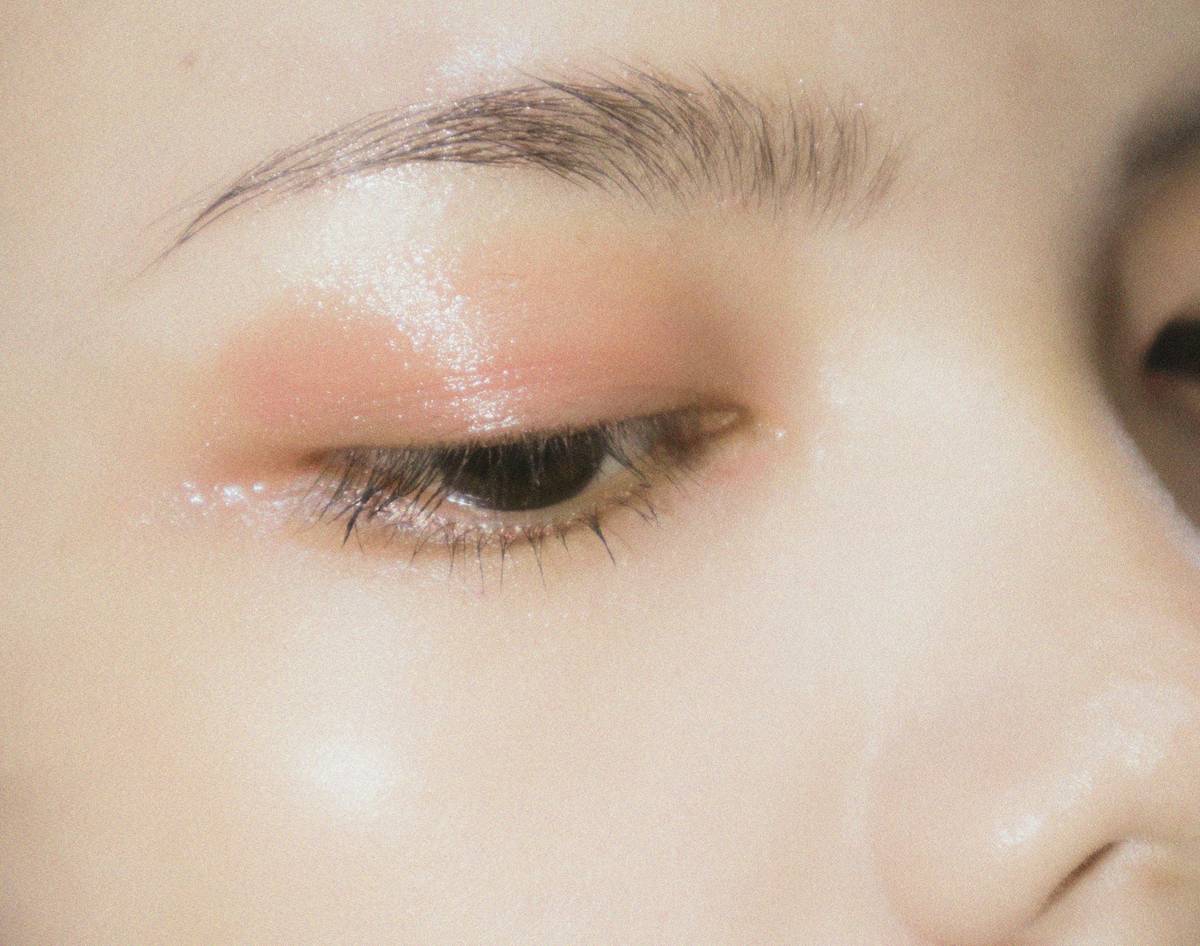
The Industry Secret: Glitter Isn’t Meant to Be Worn Alone
Here’s what backstage artists won’t tell you: glitter performs best when framed by texture contrast. Matte black liner beside silver micro-glitter? Magnetic. A blurred burgundy crease under gold chunk? Editorial magic. But slather all-over sparkle on bare skin? It reads chaotic, not chic.
And this—most clients request “more glitter,” but what they actually need is strategic placement. One well-placed stroke along the lower lash line outshines a full-face dusting. Think architectural, not atmospheric. Also: always match your glitter’s undertone to your skin’s. Cool silver on warm olive skin? Muddy. Rose-gold on cool porcelain? Dull. Test under natural light before committing.
FAQ
Can I use regular glitter for makeup?
No. Regular craft glitter isn’t skin-safe—it can cause micro-abrasions and contains non-cosmetic dyes. Always use FDA-compliant cosmetic-grade glitter.
How do I remove glitter without tugging skin?
Use an oil-based makeup remover on a cotton pad. Press gently for 15 seconds to dissolve adhesive—don’t rub. Micellar water alone won’t cut it.
Does glitter clog pores?
Not if properly sealed and removed. But applying loose glitter directly onto unprimed skin traps particles in follicles. Always use a barrier primer and clean thoroughly post-wear.