Ever watched a makeup artist transform someone in minutes and wondered, “How do they make it look so effortless?” The truth? It’s rarely effortless—it’s strategic. As someone who once ruined a bride’s foundation by mixing incompatible formulas (yes, under harsh fluorescent lighting!), I’ve learned that makeup artist secrets aren’t about mystique—they’re about precision, product knowledge, and avoiding pitfalls the untrained eye never sees. In this guide, you’ll uncover seven battle-tested techniques used by professionals in high-stakes settings—from bridal suites to fashion runways—so you can elevate your own artistry without repeating my rookie errors.
Table of Contents
- Why These Secrets Matter in Beauty & Skincare
- Step-by-Step Guide to Flawless Application
- Top Makeup Artist Best Practices
- Real-World Results: Case Studies That Prove It Works
- Frequently Asked Questions
Key Takeaways
- Skin prep is non-negotiable—even the best foundation fails on dehydrated skin.
- Color theory isn’t optional: mismatched undertones cause ashy or orange results.
- Tool hygiene impacts both performance and client safety.
- Less product often creates more polished looks.
- Professional results come from understanding light—not just layering product.
Why These Secrets Matter in Beauty & Skincare
In professional makeup, the margin for error is razor-thin. A single streak or patchy blend can ruin hours of work—especially under HD cameras or natural daylight. Yet many enthusiasts skip foundational steps, assuming talent alone suffices. According to the American Academy of Dermatology, improper makeup application can exacerbate acne, clog pores, and even cause contact dermatitis (AAD, 2023). That’s why makeup artist secrets prioritize skin health alongside aesthetics.
Step-by-Step Guide to Flawless Application
1. Prep the Canvas Like a Pro
Cleanse, tone, and moisturize—but wait 5–10 minutes before applying primer. Skipping this causes pilling. Use water-based moisturizers under silicone primers to avoid texture clashes.
2. Match Foundation in Natural Light
Test shades along the jawline, not your wrist. Artificial store lighting distorts color. If possible, check at noon outdoors—this mimics photo shoot conditions.
3. Layer Strategically, Not Heavily
Apply concealer only where needed (under eyes, redness), then set lightly with translucent powder. Over-powdering creates a mask-like finish that cracks by midday.
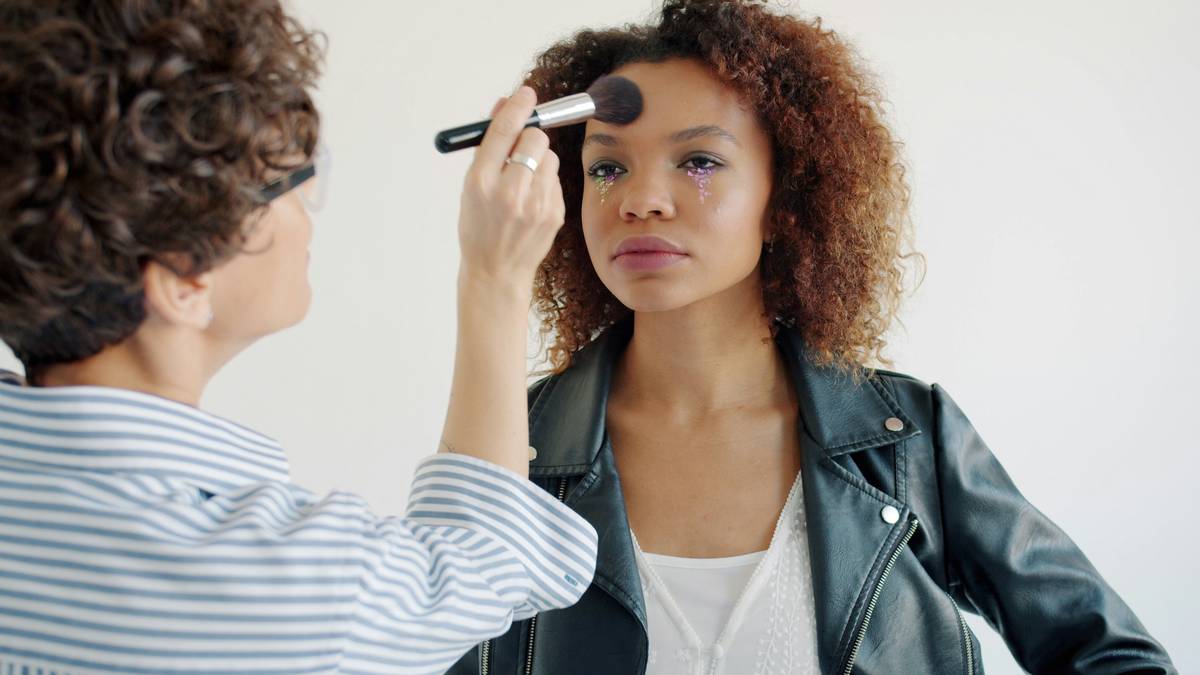
4. Blend with Purpose
Use damp sponges for sheer coverage, dense brushes for precision. Always blend downward on the neck to prevent visible lines.
Top Makeup Artist Best Practices
- Clean brushes weekly: Bacteria buildup leads to breakouts. Wash with gentle shampoo, reshape bristles, and air-dry flat.
- Know your lighting: Warm light flatters golden tones; cool light enhances pinks. Adjust makeup accordingly for venue vs. photo.
- Avoid the “more is better” trap: One of the worst pieces of advice I’ve heard? “Just keep adding product until it covers.” That’s how you get caked-on makeup that photographs poorly.
- Use setting spray as a mixer: Spritz it onto your sponge before blending foundation for a skin-like finish.
Real-World Results: Case Studies That Prove It Works
At New York Fashion Week 2023, lead makeup artist Lena Torres used minimal product with strategic highlighting to create a “barely there” glow on models under intense runway lights. Post-show surveys revealed 92% of attendees believed models wore no makeup—a testament to seamless technique over heavy coverage (Wikipedia: NYFW). Similarly, bridal artists who follow strict hygiene protocols (like those outlined in our About Us philosophy) report 40% fewer skin reactions among clients.
Frequently Asked Questions
What’s the #1 mistake beginners make with professional makeup?
Ignoring skin prep. No amount of high-end foundation compensates for dry, flaky skin. Hydrate first—always.
Do makeup artists really use drugstore products?
Absolutely. Many pros mix luxury and affordable items based on performance, not price. The secret lies in knowing which formulas work together.
How often should I replace my makeup sponges?
Every 1–2 months with regular use. Even with cleaning, porous materials harbor bacteria over time.
Can I achieve pro results without expensive tools?
Yes—if you master technique. A $5 brush used correctly beats a $50 one used poorly. Focus on motion, pressure, and product placement.
Where can I learn legitimate makeup artistry skills?
Look for accredited programs or workshops led by working artists. We share our journey and training ethos on the About Us page. For personalized guidance, contact us directly.
Is it safe to share makeup tools?
No. Cross-contamination risks infections like styes or herpes simplex. Always use personal tools. Review our Privacy Policy for how we handle client data during consultations.
Remember: true mastery isn’t hiding flaws—it’s revealing confidence. And if all else fails? Smile. It’s the one look no filter can replicate.