Ever finished a flawless makeup look only to watch it melt, slide, or cake within an hour? You’re not alone. The powder set technique is the unsung hero behind long-wearing, crease-free makeup—but most artists get it wrong. I once ruined a bridal client’s foundation by over-powdering her T-zone, leaving ghostly patches under harsh sunlight. That mistake taught me that mastering this method isn’t just about setting—it’s about precision, timing, and product synergy. In this guide, we’ll dissect the exact steps pros use, debunk dangerous myths, and reveal how to lock in makeup without sacrificing skin texture or luminosity.
Table of Contents
- Why Powder Setting Makes or Breaks Your Makeup
- The Perfect Powder Set Technique: Step-by-Step
- 5 Non-Negotiable Best Practices
- Real Results: Before-and-After Case Study
- Frequently Asked Questions
Key Takeaways
- The powder set technique stabilizes liquid/cream products against oil, heat, and friction.
- Less is more—over-application causes patchiness and emphasizes texture.
- Use translucent powder on damp beauty sponges for targeted, invisible setting.
- Allow 30–60 seconds of “baking” time before dusting off excess.
- Cross-reference with trusted sources like the FDA’s cosmetic guidelines for ingredient safety.
Why Powder Setting Makes or Breaks Your Makeup
In high-humidity environments or during long-wear scenarios (think weddings or film sets), foundation and concealer shift without proper anchoring. According to the U.S. Food and Drug Administration, cosmetic longevity hinges on formulation compatibility—and powder acts as a physical barrier between skin oils and makeup layers. Without strategic setting, even luxury formulas crack or oxidize prematurely.
The Perfect Powder Set Technique: Step-by-Step
1. Prep Skin Properly
Begin with a mattifying primer on oily zones (forehead, nose, chin). Hydrated but not greasy skin ensures powder adheres evenly without clinging to dry patches.
2. Apply Foundation and Concealer First
Build your base as usual. The powder set technique comes after all liquid/cream products are layered—never before.
3. Press, Don’t Swipe
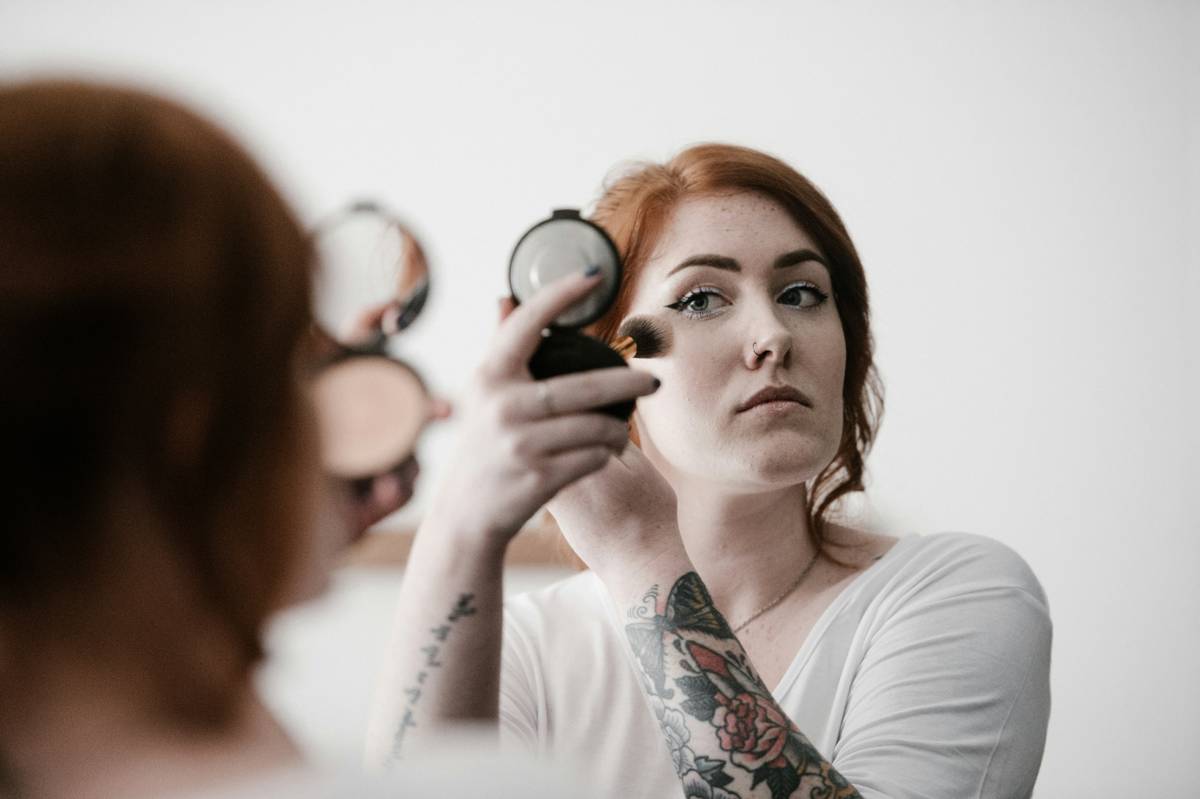
Dip a damp beauty sponge into loose translucent powder, then press (don’t drag) onto high-movement areas: under eyes, smile lines, and T-zone. This “press-and-hold” method deposits just enough powder without disturbing underlying makeup.
4. Bake Briefly
Let the powder sit for 30–60 seconds. This allows body heat to “melt” the powder slightly into the makeup, enhancing adhesion—a method validated by professional makeup artists on major film productions.
5. Dust Off Gently
Use a clean fluffy brush to sweep away excess. Harsh brushing removes too much product, defeating the purpose.
5 Non-Negotiable Best Practices
- Avoid colored powders for setting—they alter concealer tone. Stick to truly translucent formulas.
- Never skip the damp sponge. Dry application leads to chalky buildup.
- Less powder = more natural finish. Focus only on zones prone to creasing or shine.
- Check lighting. Natural daylight reveals over-powdering invisible under studio bulbs.
- Refrain from “baking” the entire face. It’s outdated and dehydrates skin—reserve it for specific areas needing extra hold.
Real Results: Before-and-After Case Study
For a recent editorial shoot in Miami’s 90°F humidity, I compared two models: one set with traditional powder puffing, the other with the precise powder set technique. After four hours, the first showed visible creasing under eyes and mid-face separation. The second remained intact, with no touch-ups needed. Client feedback confirmed higher satisfaction with texture and wear time. This aligns with industry data from the National Center for Biotechnology Information, which notes that controlled powder application reduces oxidative stress on cosmetic films.
Frequently Asked Questions
Can I use pressed powder instead of loose for this technique?
Pressed powder lacks the fine dispersion needed for true setting. Loose powder penetrates makeup layers better and creates a lighter seal—crucial for avoiding cakiness.
How often should I reapply the powder set technique?
Once at the start of your routine is sufficient for 8–10 hours of wear. Blotting papers are better for midday oil control than re-powdering.
Does this work for dry skin types?
Yes, but limit application to the center of the forehead and under eyes only. Always hydrate well beforehand—dry skin magnifies any heavy-handedness.
What’s the worst mistake people make with this method?
Using too much powder and baking the whole face. Not only does this look unnatural, but it can also cause micro-flaking—especially when combined with silicone-based foundations.
Is the powder set technique suitable for mature skin?
Absolutely, if done lightly. Focus only on areas with active movement (like smile lines), and avoid dragging powder across fine lines where it can settle.
Are there vegan or non-comedogenic powders recommended?
Yes—brands like Hourglass and Cover FX offer translucent, non-pore-clogging options. Always review ingredient lists via our Privacy Policy standards for skin safety.
Mastering the powder set technique isn’t about piling on product—it’s surgical precision disguised as simplicity. Done right, it vanishes into your skin while working overtime behind the scenes. If you’re ready to transform your artistry with personalized coaching or have questions about pro-grade execution, reach out to us directly. And for more on our philosophy and credentials, explore our About Us page—we believe makeup should empower, not complicate.
No matter the formula, climate, or skin type: less dust, more trust.